Getting started
Updated 2026-10-03
Your first hour in Bottify: you sign up yourself, verify your e-mail, tell Bottify how you work, connect your number, and work through the setup checklist — including the step that is waiting on Meta.
What does the Bottify setup checklist do?
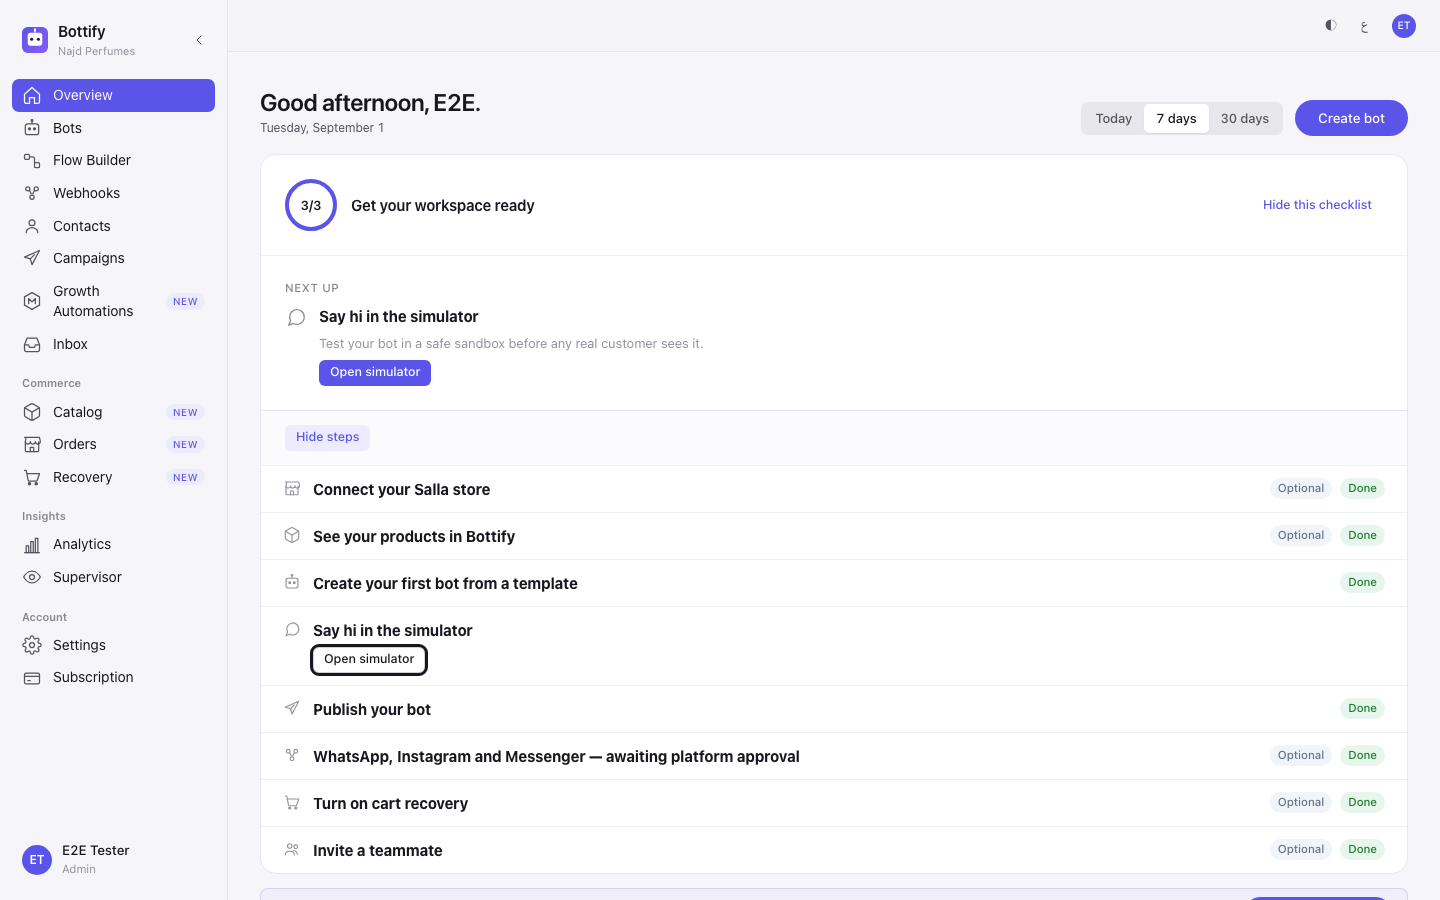
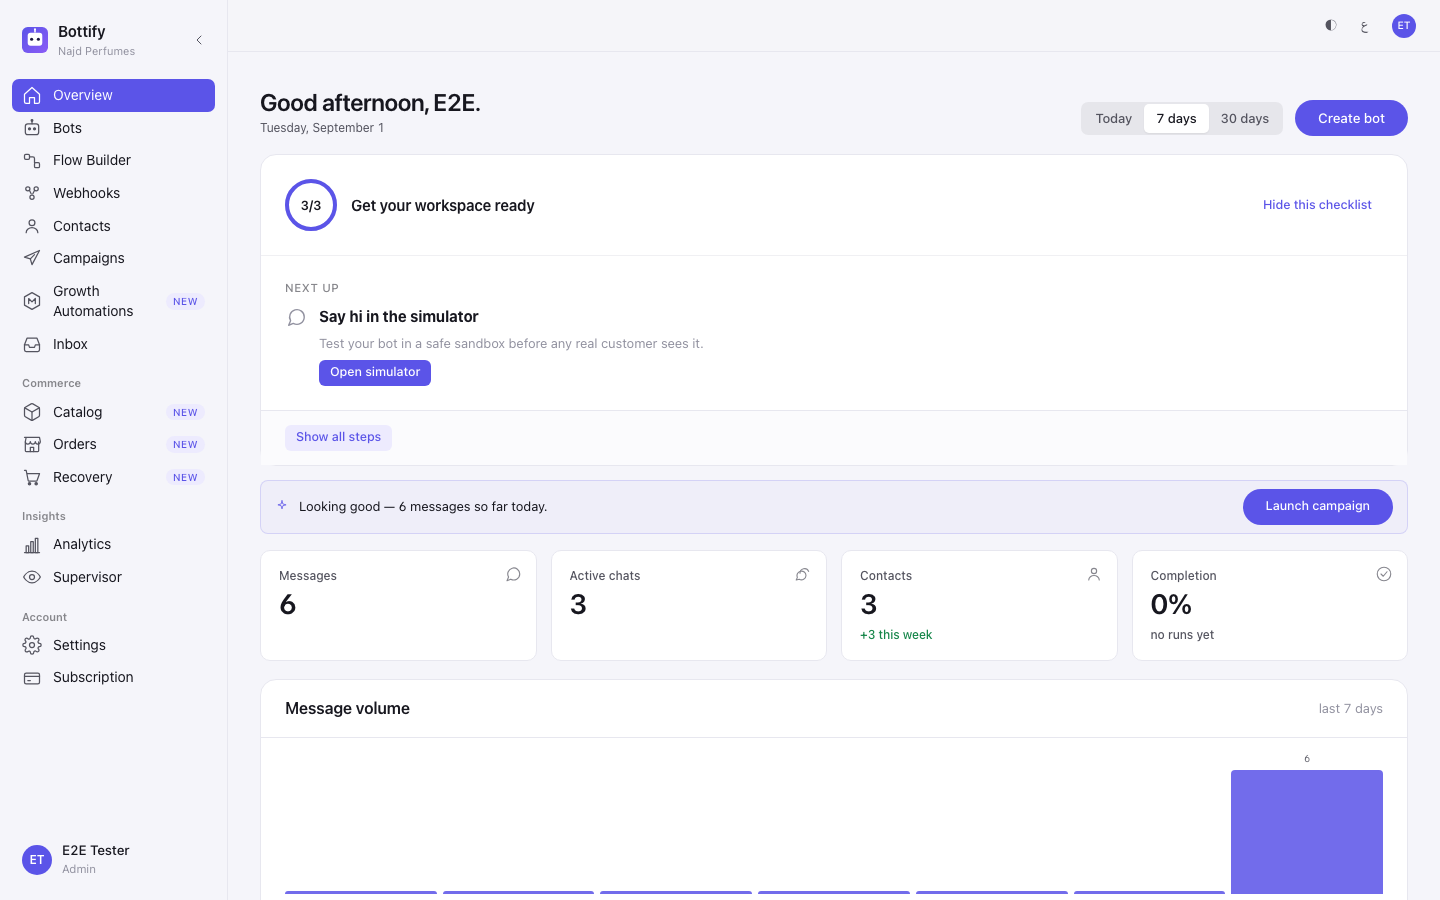
Bottify greets a new workspace with a setup checklist. It is a card on your Overview page headed Get your workspace ready, plus a welcome screen that opens over it the first time you sign in. Together they put the work of hour one in order: say how you work, connect your store, look at your products, test a bot, publish it.
The checklist is honest about what you cannot finish. One of its rows is not a task at all. It is a sentence telling you that Meta has not yet approved Bottify, so WhatsApp, Instagram and Messenger cannot be connected from inside Bottify today. That row has no button, and it carries the badge No action needed. Nothing you click will change it.
Nouf runs Rumman, a two-person home-fragrance and gifting shop in Riyadh. She sells compressed oud, bakhoor and wooden incense burners on Salla. She opens the sign-up page, types her shop's name, her work e-mail and a password, and her workspace exists a minute later. She lands on Overview, and the checklist is already there — with one row ticked before she has done anything, because a starter bot was created with her workspace. Her first answer is to How do you work?: Orders. By the end of the hour she has a published bot, her Salla catalog in Bottify, and a clear answer to the question she came with: what is left, and what is waiting on someone else.
What do you need before you can start?
You sign up yourself, from the sign-up page. It is headed Create your workspace, and the sign-in page links to it: "New to Bottify? Create your workspace". You need your business name, a work e-mail you can open, and a password of at least 12 characters. The person who signs up becomes the workspace's admin. Everyone else joins when that admin invites them from Settings → Users & roles — see Your team and what each role can do. New workspaces start on the Free plan; you can upgrade from Settings → Billing.
Keep your inbox open. Bottify sends a link to the e-mail you signed up with. Open it to verify your address. Depending on how your Bottify is configured, signing in again can require a verified address, so do it in the first hour.
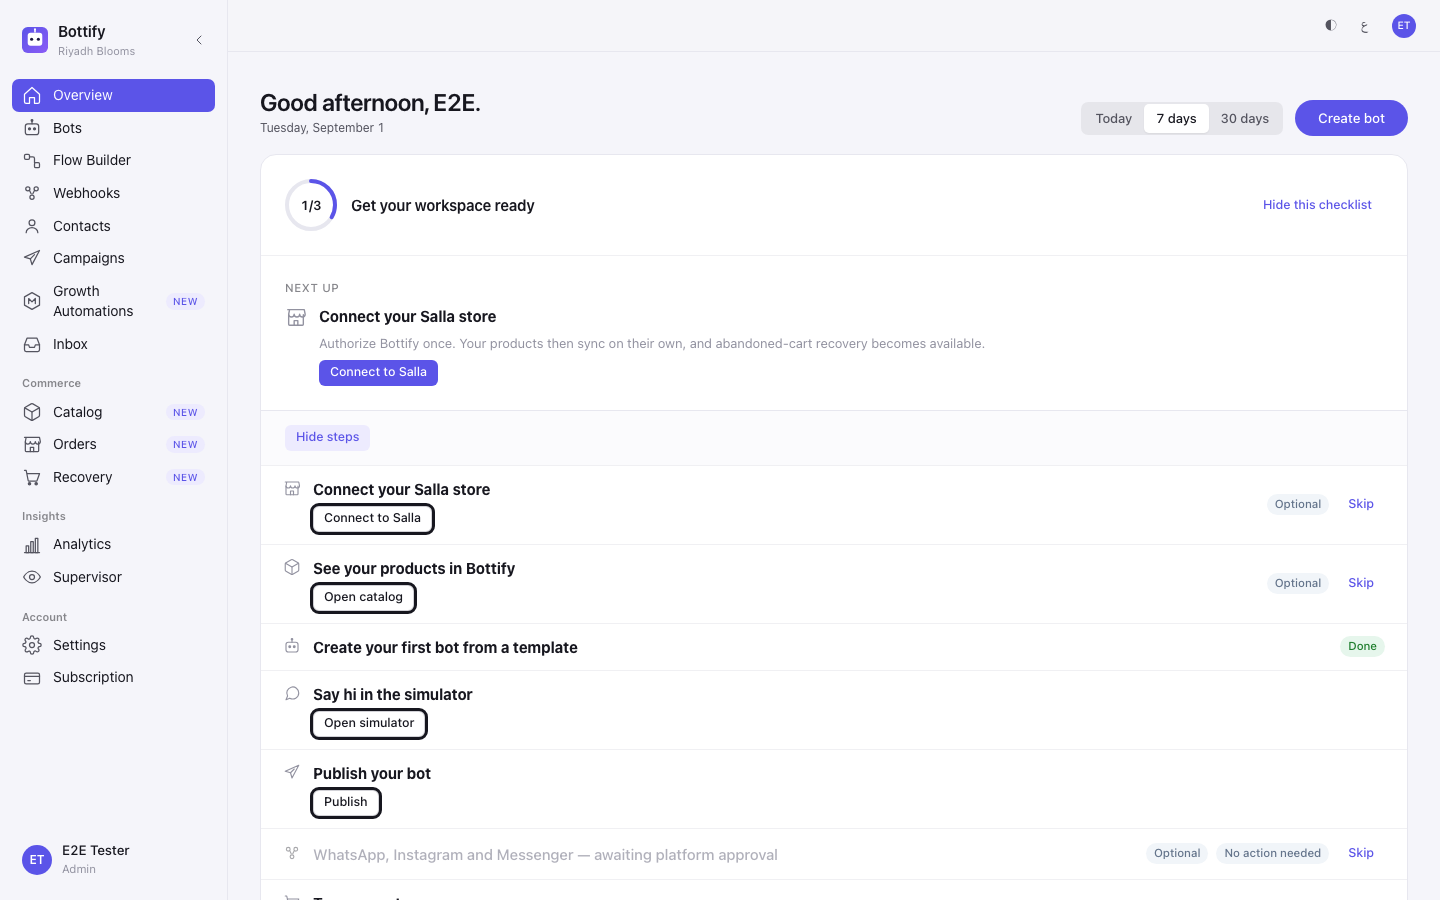
On the web, only an admin sees the checklist. If you sign in as a supervisor or an agent, you land on a different home page and the card is not there at all. There is one checklist per workspace. On the phone every role can see it, but only an admin can skip a step or hide it.
Your plan must include Salla for the first two rows — connecting your store and seeing your products — to appear at all. If Salla is not on your plan, those two rows are not hidden behind a locked button; they are not in your list at all. That is deliberate. On the Free plan that new workspaces start on, Salla is included.
Cart recovery has to be switched on for your account before its row appears. For most workspaces it is not, so most merchants never see that row. If you have read about Abandoned carts and recovery and cannot find it in your checklist, nothing is broken.
How do you work? is the first row, on every plan. It is optional — you can skip it — but it decides which part of Bottify leads: Orders, Appointments or Deliveries. You can change the answer any time in Settings → Store.
Three rows work on any plan, for every workspace: create a bot from a template, say hi in the simulator, and publish your bot. Those are the three the checklist counts as required, and they are the three that decide when it says you are finished.
One more thing to know before you start: connecting your number. The one-click way to connect WhatsApp, Instagram and Messenger is waiting on Meta's approval of Bottify, so the row about them is not going to complete through that button today. Publishing your bot readies it; it does not put it in front of a customer until a channel is connected. If you already have your own Meta app, you can connect your WhatsApp number yourself with your own credentials — Connecting WhatsApp, Instagram and Messenger walks through it — and that row will tick. Once a number is connected, Bottify submits the message templates your updates need, and the row Message templates approved follows Meta's review on its own. Otherwise it waits — and nothing will notify you when the wait ends. The row says it becomes a Connect button on the day approval arrives. There is no date and no status page. Check the row.
What are your options for the setup checklist?
Nothing in the checklist is compulsory. Four different controls make it go away, and they do four different things. No screen in Bottify explains the difference, so here it is.
| Control | What it applies to | Who else it affects | How to undo it |
|---|---|---|---|
| Skip | One row | Everyone in your workspace | Nothing in Bottify brings a skipped row back |
| Hide this checklist | The whole card | Everyone in your workspace | Settings → General, the Setup checklist toggle |
| Close checklist | The whole card — same effect as Hide, different wording once you have finished | Everyone in your workspace | Settings → General, the Setup checklist toggle |
| Explore on my own | The welcome screen only | Nobody — only you, only in this browser | Nothing. There is no way to reopen the welcome screen |
Two of those deserve a second look.
Skip is only offered on rows that are not required, and a skipped row never comes back as your next thing to do. It still counts as settled. If you skip every optional row, the checklist can still reach its finished state, because finishing is measured on the three required rows only.
Hide this checklist hides it for your whole workspace, not for you. Your colleague loses it too. Progress keeps being recorded while it is hidden — if a teammate publishes a bot while the card is away, that row is ticked when you bring it back.
Other controls you will meet:
| Control | Where | What changes |
|---|---|---|
| Show all steps / Hide steps | The card | Expands or collapses the row list. Collapsed, the card shows one row — your next unfinished one — under Next up. Nothing is saved, and nobody else is affected |
| Setup checklist toggle | Settings → General, under the heading Dashboard | On brings the card back to Overview; off hides it. This row only appears if you are an admin and your workspace has a checklist |
| Language toggle | Inside the welcome screen | Switches the whole screen, including the step wording, without closing it |
| Back / Next / Done | Inside the welcome screen | Moves between screens. Done closes it |
| Try again | On the card, when it fails to load | Fetches the checklist again |
Cart recovery, if your row appears. Its option lives at Settings → Store, called Cart recovery reminders. Turning it on does not start sending anything. Cart recovery runs in a mode the product labels Dry-run mode — no live messages are being sent: a reminder is worked out and counted for every abandoned cart, and then not sent. Recovered revenue stays at 0, by design, until sending is switched on. When a customer of Nouf's leaves a wooden incense burner in the cart, Bottify will show you the reminder it planned — marked Planned — not sent — and no message reaches that customer. Sending begins once WhatsApp messaging is approved, and that is the same approval the channels row is waiting for.
How do you set up your Bottify workspace?
You need your business name and an e-mail inbox you can open before step 1.
- Open the sign-up page — Create your workspace — from the site's Start free button, or from Create your workspace on the sign-in page.
- Type your business name into Business name, and your e-mail into Work e-mail.
- Type a password into Password. It must be at least 12 characters.
- Tick I agree to Bottify's Terms and Privacy Policy.
- Click Create workspace. You are signed in and taken to Overview, and a message tells you Bottify sent a link to your e-mail.
- Open that e-mail and click the link. The page Verify your e-mail reads "Your e-mail is verified. Thank you!" — click Continue to Bottify.
- Read the welcome screen that opens over Overview. Its counter (Step 1 of …) is the number of screens, not the number of things you must do.
- Click Explore on my own to close the welcome screen. (Or click Next through the screens and then Done. Either way, the checklist card is waiting underneath.)
- On the card, click Show all steps.
- On the row headed How do you work?, choose Orders, Appointments or Deliveries, and click Confirm. If your starter bot came from a store or clinic template, Bottify suggests an answer — nothing is saved until you confirm. Your sidebar changes at once.
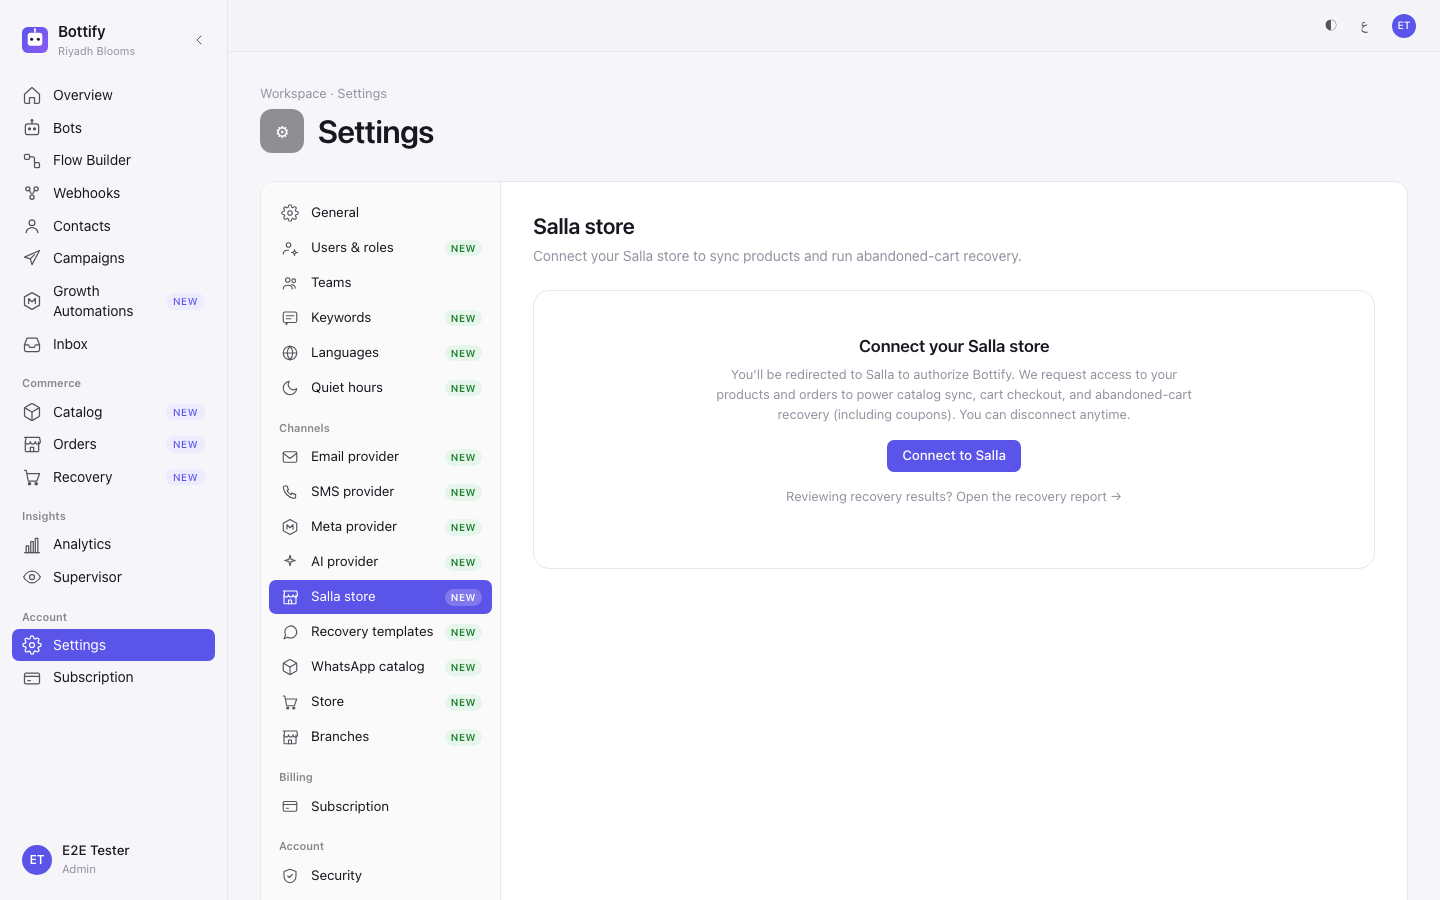
- Click Connect to Salla on the row headed Connect your Salla store.
- On the Salla store page, click Connect to Salla again.
- Approve Bottify's access on Salla's own screen. You are sent back to Overview.
- Wait for your catalog. Nobody clicks anything here — your products sync on their own, and the row See your products in Bottify ticks when the first sync arrives with at least one product in it.
- Click Open simulator on the row headed Say hi in the simulator.
- Open your bot's flow in the builder and send it a message in the simulator.
- Return to Overview and click Publish on the row headed Publish your bot.
- On the Bots page, publish My First Bot.
- Connect your number. If you have your own Meta app, follow Connecting WhatsApp, Instagram and Messenger. If you do not, this is the step that waits on Meta — see below.
Why one row is already ticked. Create your first bot from a template arrives marked Done. A bot called My First Bot was created with your workspace, so the row is honestly complete. Its button still works if you want a second bot — the Free plan allows two in total, so you have room for exactly one more.
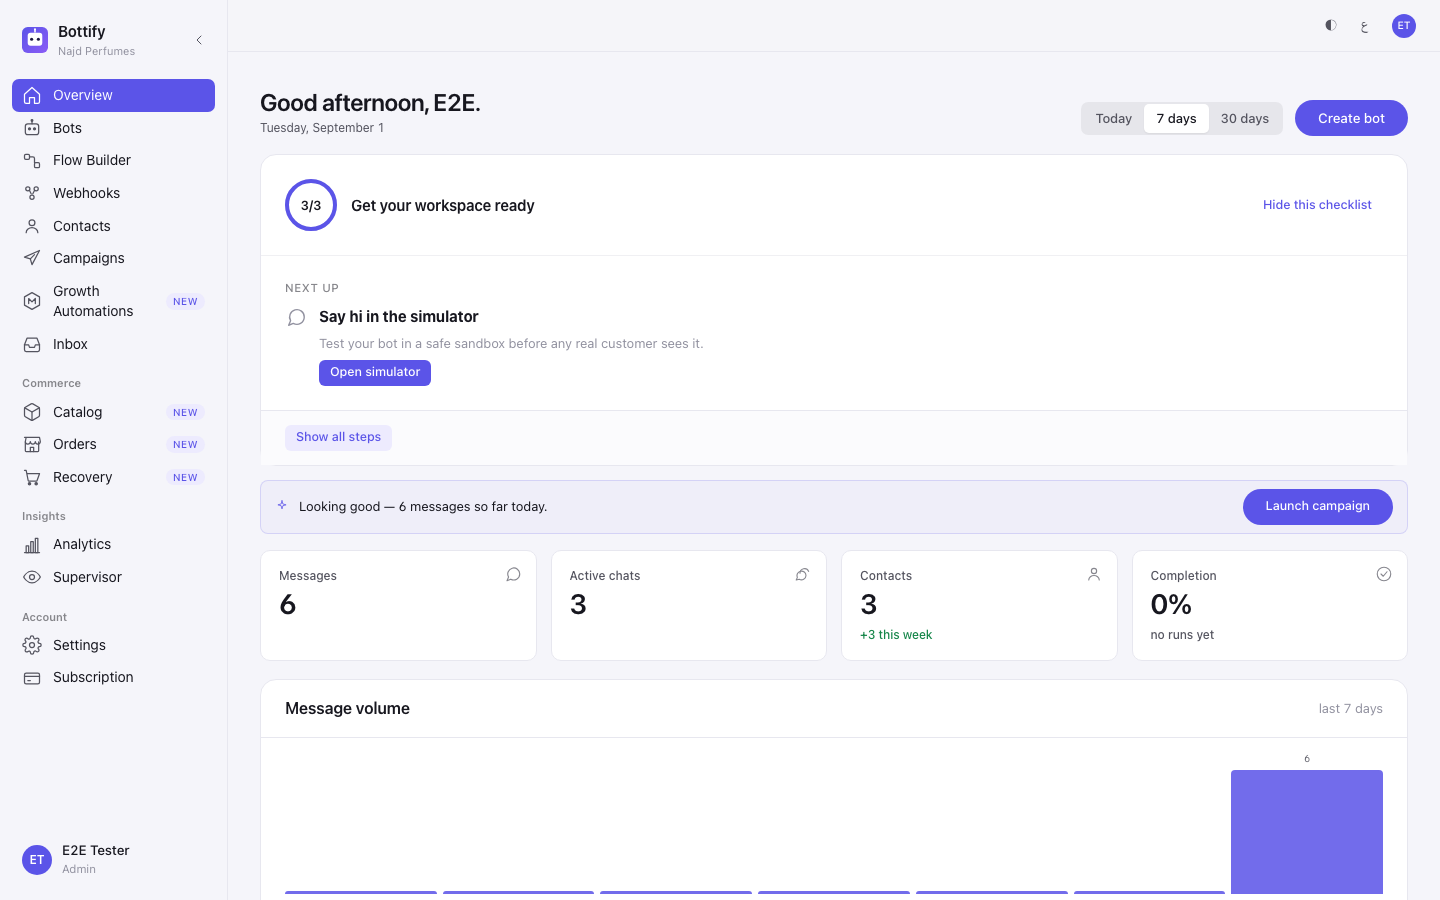
What the two numbers mean. The ring on the card counts required rows and reads 1/3, 2/3, 3/3. The welcome screen counts screens and reads Step 1 of however many screens your workspace has. They disagree because they are counting different things. The Optional badge on a row is what reconciles them: an optional row is a screen you will see and a row that does not move the ring.
How do you know your workspace is ready?
After you approve Salla, a success message appears reading "Salla store connected". The Connect your Salla store row picks up the badge Done, and the Salla store page now shows the status Connected instead of Not connected.
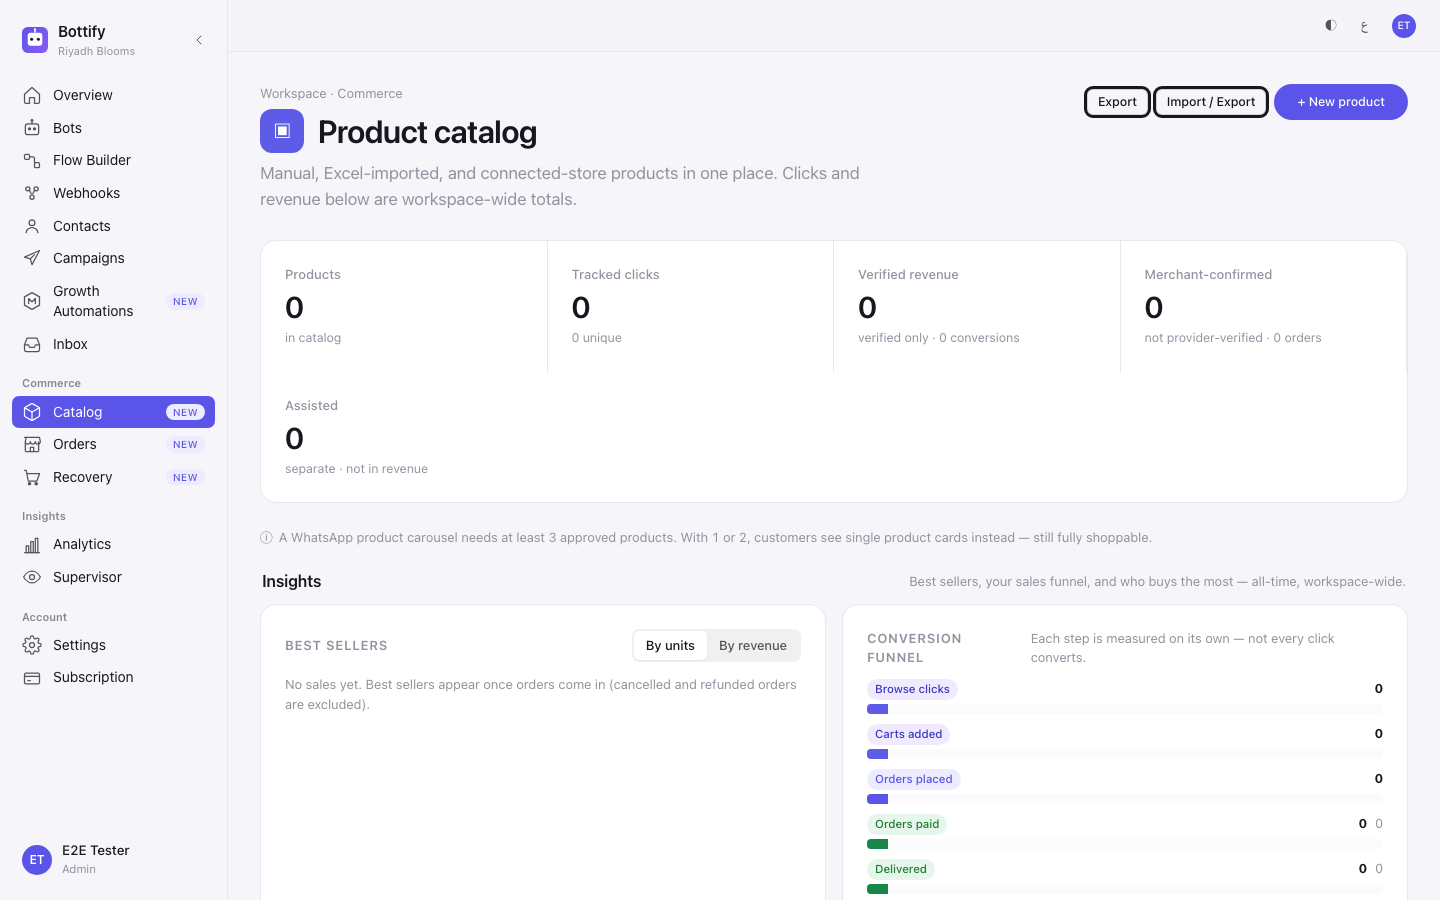
After the first sync lands, your products are on the Catalog page and the See your products in Bottify row is marked Done. Before that sync, the Catalog page reads No products yet — that is the waiting state, not a failure.
After you confirm how you work, the How do you work? row is marked Done, and your sidebar leads with Orders, Appointments or Deliveries.
After you send a message in the simulator, the Say hi in the simulator row is marked Done.
After you publish, your bot's status chip on the Bots page reads Published, and the Publish your bot row is marked Done.
When the third required row settles, the card changes. The ring fills, once, with a short animation. The card now reads:
You're all set Your workspace is ready. Nice work.
and the button at the bottom now says Close checklist rather than Hide this checklist.
Some rows will still look unfinished, and that is correct. WhatsApp, Instagram and Messenger — awaiting platform approval keeps its No action needed badge until a number is connected. Message templates approved waits on Meta's review of your templates, which starts once a number is connected. Invite a teammate stays open until you invite someone. None of them holds up the finished state.
If you close the checklist, a message confirms Checklist hidden and tells you: "You can bring it back any time from Settings → General."
Why is a checklist step missing or stuck?
The checklist will not load
What you see: the card shows Couldn't load your setup checklist, with a Try again button. On the phone it reads "Couldn't load the checklist." with Try again.
Why: Bottify could not fetch your checklist — usually a dropped connection between your browser and Bottify, or a moment when Bottify itself was not answering.
What to do: click Try again. If it still fails, reload the page. If it fails after that, your setup is untouched — nothing is lost, and the rows you have already completed stay completed. Come back in a few minutes.
The Catalog page refuses to open
What you see: instead of your products, the Catalog page shows Commerce isn't on your plan, or Commerce isn't enabled here.
Why: the row that tells you your products are syncing and the Catalog page itself are governed separately. Your plan can include Salla — which is what makes that row appear — while the Catalog page is still switched off for your account. The sync is genuinely happening; you cannot see the result yet.
What to do: this is not something you can turn on yourself, and there is no setting for it in your workspace. Ask Bottify to enable it for your account. Your Salla connection and your catalog sync are unaffected while you wait — nothing needs redoing afterwards.
You cannot create another bot
What you see: when you try to use a template, You've reached your plan's bot limit — "Remove a bot or move to a bigger plan to create another." On the Bots page the same fact reads as a banner: "Free plan: 2 of 2 bots used", with the body "You've reached your bot limit. Upgrade your plan to create more bots." The create card is labelled Plan limit reached.
Why: the Free plan allows 2 bots, and one of them is My First Bot, which was created with your workspace. So you can build exactly one bot from a template before this appears.
What to do: you have two ways forward. Edit My First Bot instead of making a new one — it is a working bot with a starter flow already in it, and the required rows do not care which bot you publish. Or delete a bot you are not using, or move to a larger plan.